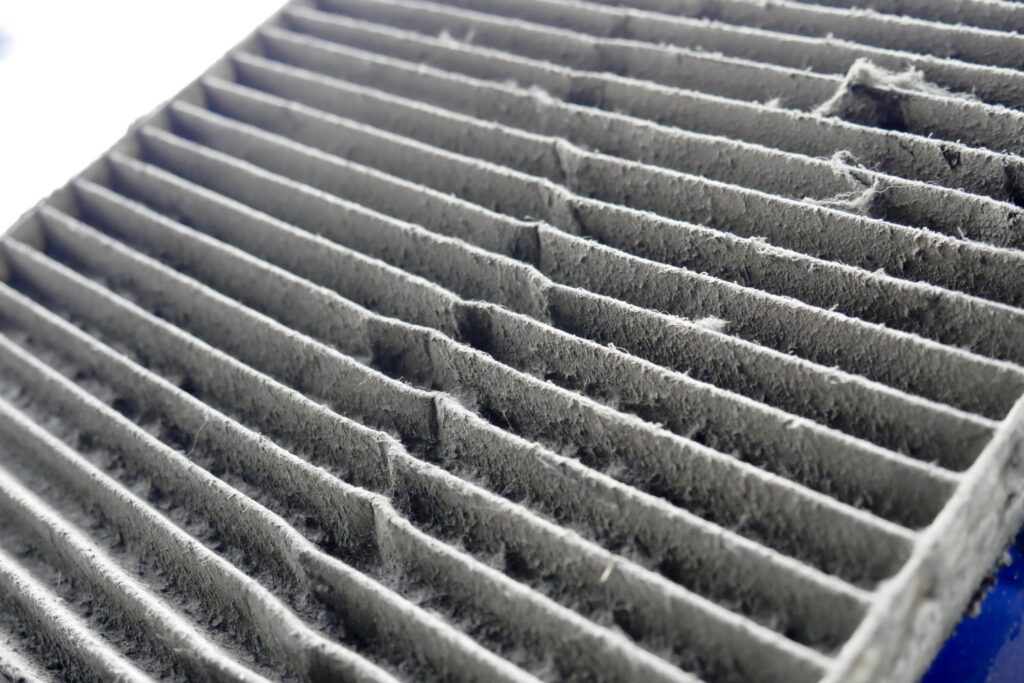
Cabin Air Filter Inspection
Preparation

Before starting, ensure that your vehicle’s HVAC system is turned OFF. For added safety, remove the key from the ignition.
This precaution is particularly important because the cabin filter is often located above the blower motor, and accidental contact with the fan could result in injury.
Gain Access

A cabin filter’s location varies by vehicle, but it is commonly positioned behind the dashboard on the passenger’s side; this might sound challenging, but accessing it is usually straightforward.
Open the glove box and identify a mechanism at the back that limits its opening. In many cases, bending or removing these mechanisms allows the glove box to swing fully open. Some glove boxes may require complete removal, which can usually be done by unscrewing bolts near the hinge.
Remove Filter

The cabin filter is typically inserted into the HVAC box through a rectangular opening resembling a mail slot. This opening is sealed with either a small door or part of a tray that holds the cabin filter. Locate and release the clips on the door or tray, then pull the cabin filter out.
In some cases, debris on top of the filter may fall into the blower motor fan. If this occurs, remove the debris to prevent noise and imbalance when the system is reactivated. If necessary, the blower motor may need temporary removal to clear the debris.
Inspect Filter

Cabin filters usually come in two colors: white or gray. Gray filters are often carbon-infused to trap odors. Differentiating between a carbon-infused filter and a dirty, normally-white filter is crucial.
If unsure about the cleanliness of the filter, place a light source behind it and check for any dark areas blocking light; these indicate debris, signaling that the cabin filter requires replacement.
Ready to Repair?
Further Testing...
No results found.
Need Additional Help?
Join the discussion or start a new conversation in the Community Support forum!

